Secure storage and easy sharing of documents for organizations, companies and projects
iCoordinator™ is a cloud-based solution for secure storage and easy sharing of documents for organizations, companies and projects that meet different users' requirements for collaboration and mobile access with the possibility of powerful access control,
document viewing and subscription to changes.
Built for security
iCoordinator™ is developed based on the increasing need from organizations, businesses and projects to support enterprise level of permission control, meta data possibilities in organising files with labels and smart folders and emailing of attachments directly to folders within the EFSS solution area.
iCoordinator™ allows organizations, businesses and projects to take control over sensitive business data while meeting secure storage, easy accessibility and collaboration needs of users.
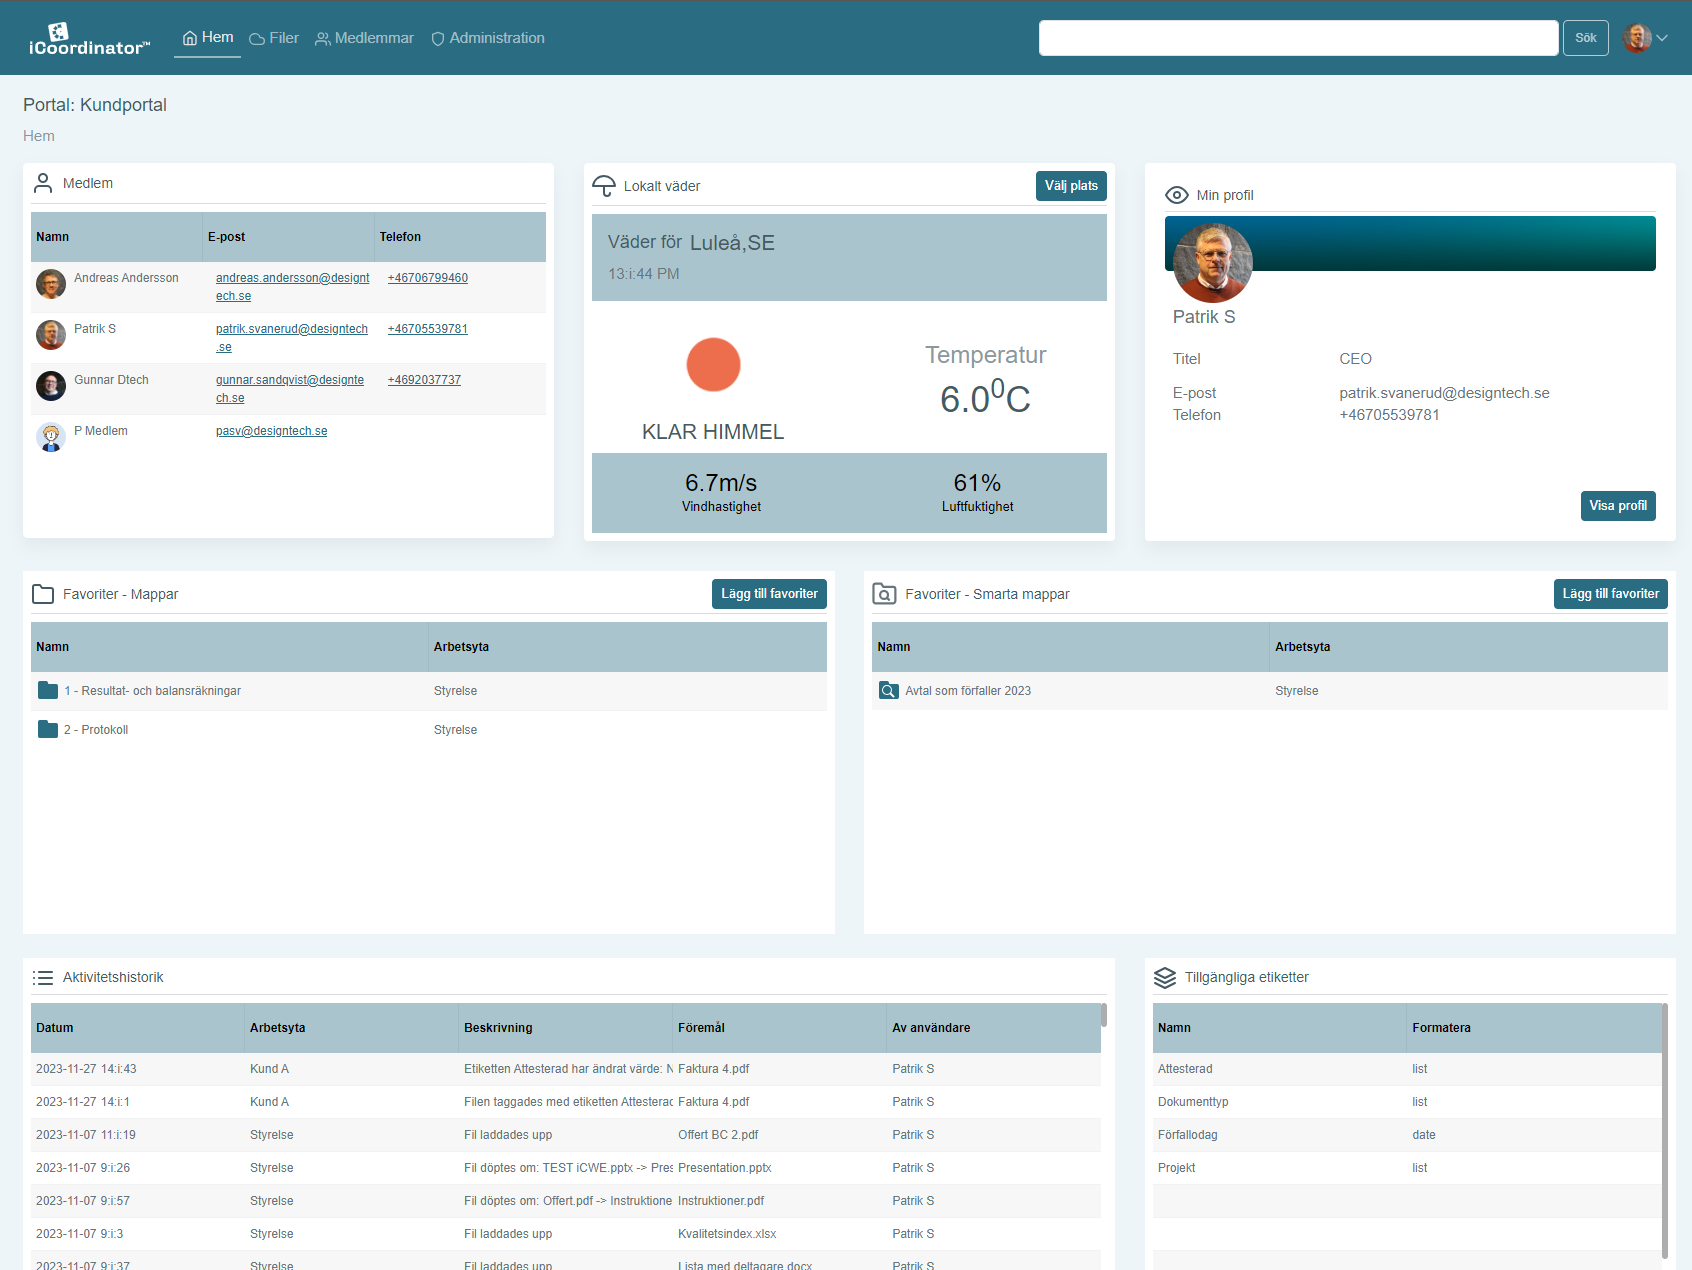
iCoordinator™ Customer Portal
iCoordinator™ Customer portal provides the opportunity to share documents with all the company's customers and suppliers at a fixed, low and calculable cost.
Through its own customer portal, the company can share files with customers and suppliers in a professional, secure and authorization-controlled manner.
iCoordinator™ Enterprise
iCoordinator™ Enterprise is the edition that is aimed at those who are looking for that little extra, both in terms of functionality and access to service and support.
In addition to all the features found in other editions, in Enterprise you have access to iCoordinator Desktop which allows you to synchronize the files between the portal and the file manager on your local computer.
iCoordinator™ Project Portal
The basic idea with iCoordinator™ Project is to facilitate document-based secure collaboration in projects.
Feel the peace of mind of having control over the projects, even when many organizations are involved, gnome to minimize the risk of unauthorized access to materials and information that they should not have access to.
iCoordinator™ OEM
iCoordinator™ OEM is an edition that is aimed at cloud providers of other IT services and who want to use selected parts of iCoordinator's clients (Web, Desktop, Mobile and Web Extension) as part of their own service under their own brand, so-called OEM or White labeling.
Value-adding features in iCoordinator™
Labels
Having the ability to add labels to files and folders and generate different file listing views through Smart folders, iCoordinator™ allow users to easily categorize and organize files.Effective Collaboration
One of the key aspects of iCoordinator™ is to enable effective collaboration between the internal as well as external users.
Users can easily upload files, organize them into folders, share link of the files to other users.
With file level read & edit permission settings, only the permitted users will have the possibility to read or edit the files.

Smart folders
As the Smart folders acts as the virtual folder and with the right labelling, files can be routed and organized automatically to a designated folder. For example, by using a simple label of “Reviewed”, all the reviewed files can be automatically generated within the Smart folder with that label criteria.This enables to have easy workflows where documents that are associated with particular labels can be automatically routed and presented to the users in Smart folders.
Mobile file access
The availability of files on the Mobile devices provide users access to the files any time and the possibility to share them while they are travelling or on the field allowing them to collaborate with others any time.Upload files over email
In order to make the file management easier iCoordinator™ allows users to add files to a particular workspace or a folder on the portal by sending over email.The unique and highly secure email links specific to a user and the folder can be obtained from the iCoordinator™ web interface.
Audit trails of file events &
permission changes
The audit trails of the file events and permission changes ensure that the administrators can verify the folders and files that are added and modified on the portal and any of the permission changes.
As far as the individual user is concerned, the files can be locked preventing from any further changes.
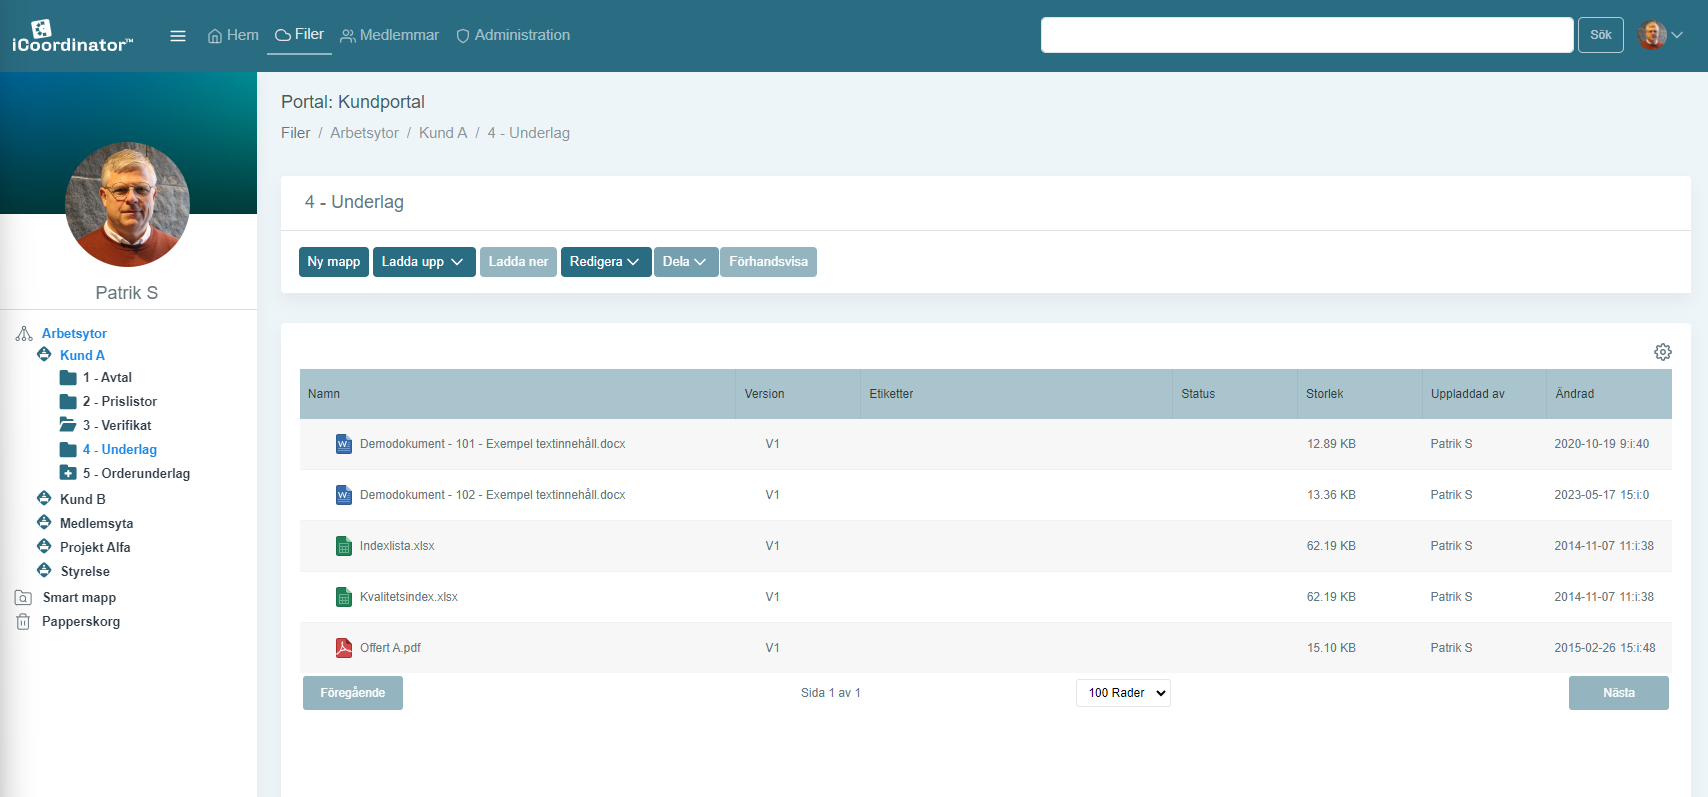
Upload files
Once you have navigated to the workspace that you will find under the document library "Drive", you can upload files in a few different ways:
- Select files from computer
- Drag and drop files into folder structures
- Attach and email directly to the portal
Offline file management
By checking out their files, users can edit the files locally through the iCoordinator Web Extension. This enables working with the files offline and then checking the files back in at a later time.User & group level permissions
With the provision to have portal and workspace groups, users can collaborate with different groups within the portal or workspace in an easy way.
Access permissions for users can be easily configured for a workspace and read, edit permissions can be granted to a particular user or a group for a folder and down to the file level. This makes the collaboration between the different user groups within the organizations, businesses and projects easy and secure.
Clients for Windows and macOS
iCoordinator ™ Web Extension is available for all editions, providing users with the seamless ability to effortlessly open, edit, and save files directly from their web browsers. With this powerful extension, you can enhance your productivity by utilizing your favorite local software applications like Word or Excel, making it easier than ever to work with your files in a familiar and efficient manner.
Experience the convenience and flexibility of iCoordinator ™ Web Extension as it effortlessly integrates with your web browsing experience, allowing you to maximize your workflow and accomplish more with ease.
Online file viewer
With support for viewing several hundred types of files, arranged in a familiar structure for easy navigation and access possibility from different devices, organizations, businesses and projects can create, store, share and collaborate on files in a secure way.

Portal & Workspaces
With the unique concept of Portal and Workspaces iCoordinator™ offers organizations, businesses and projects to have cloud-based secure portals to store all their business data.
Within the portal, the storage areas are further divided into workspaces followed by folders and files with own access rights.
A workspace can be represented by a department in the organization, an area for a customer, a place for suppliers or a group within the department.
Automatic version control
The automatic version control ensures that the user is working on the latest version of the file, but never lose an earlier version if the user needs to go back.
Would you like a personal demo?
We are happy to show you iCoordinator during a short online demonstration. If desired, we can set up a free trial period of 30 days.
Total control over
business data
iCoordinator™ enables organizations, businesses and projects to take control of their content in many ways.
Granular level permission makes sure that only the relevant users see what they need to see.
Share file as a link &
Link access level
Users can quickly share a link with the external users who are not a member of the portal.
Provision to make the link access level to anyone with the link, portal members or only to the author, gives further control on what is shared and who can see the shared file.
Invitation only access
Access to a portal is strictly restricted via invitation. With different level of permission for read and edit on a user as well as group level, organizations, businesses and projects can ensure that individual users and groups only see what they are allowed to.